Monthly Archives: January 2013

Got my hands on the Pi ;)

raspberry pi up and running

Finally, after waiting for more than six months I got my on hands on a Raspberry Pi (in fact 4 of them 😉 )

Ever since I heard about Raspberry Pi, I wanted to try one, especially to compare it with an Arduino and finally the day has arrived 🙂

Buying Raspberry Pi in India

It was slightly difficult to buy a Raspberry Pi in India. It was either out of stock in most online retailer sites or was prohibitively expensive. There were even sites that were selling it for Rs. 4500 (~ $85). The Indian version of element14 was selling it at Rs. 2750 (which is slightly high, but still okay when you consider tax etc) but model B of Raspberry Pi was out of stock for pretty much most of the time.

Update: It is now available in SP road (Bangalore) for around Rs. 3200.

How I bought Raspberry Pi?

raspberry pi up and running
Luckily for me, a colleague was traveling to US on a business trip. I bought it from element14/Newark and shipped it to my friend who picked it up for me on the way back to India. So far this seems to be easiest and the cheaper option to buy Raspberry Pi in India.

And by the way, they have also given me a Voucher code NEW2P which will give you 15% off components that you buy from element14/Newark. Feel free to use it. I think the offer ends by 31st Jan.

First impression

Even though I have seen one in photos, it was still existing to hold one up in your hand and realize that it has more processing power and memory than the desktop I bought for about a lakh (~ $2000) just 10 years before 🙂

Starting it up

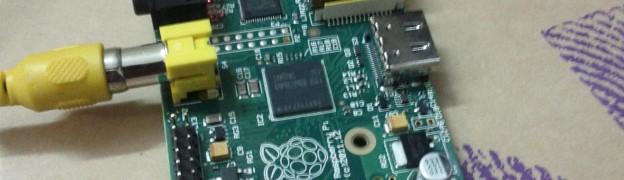
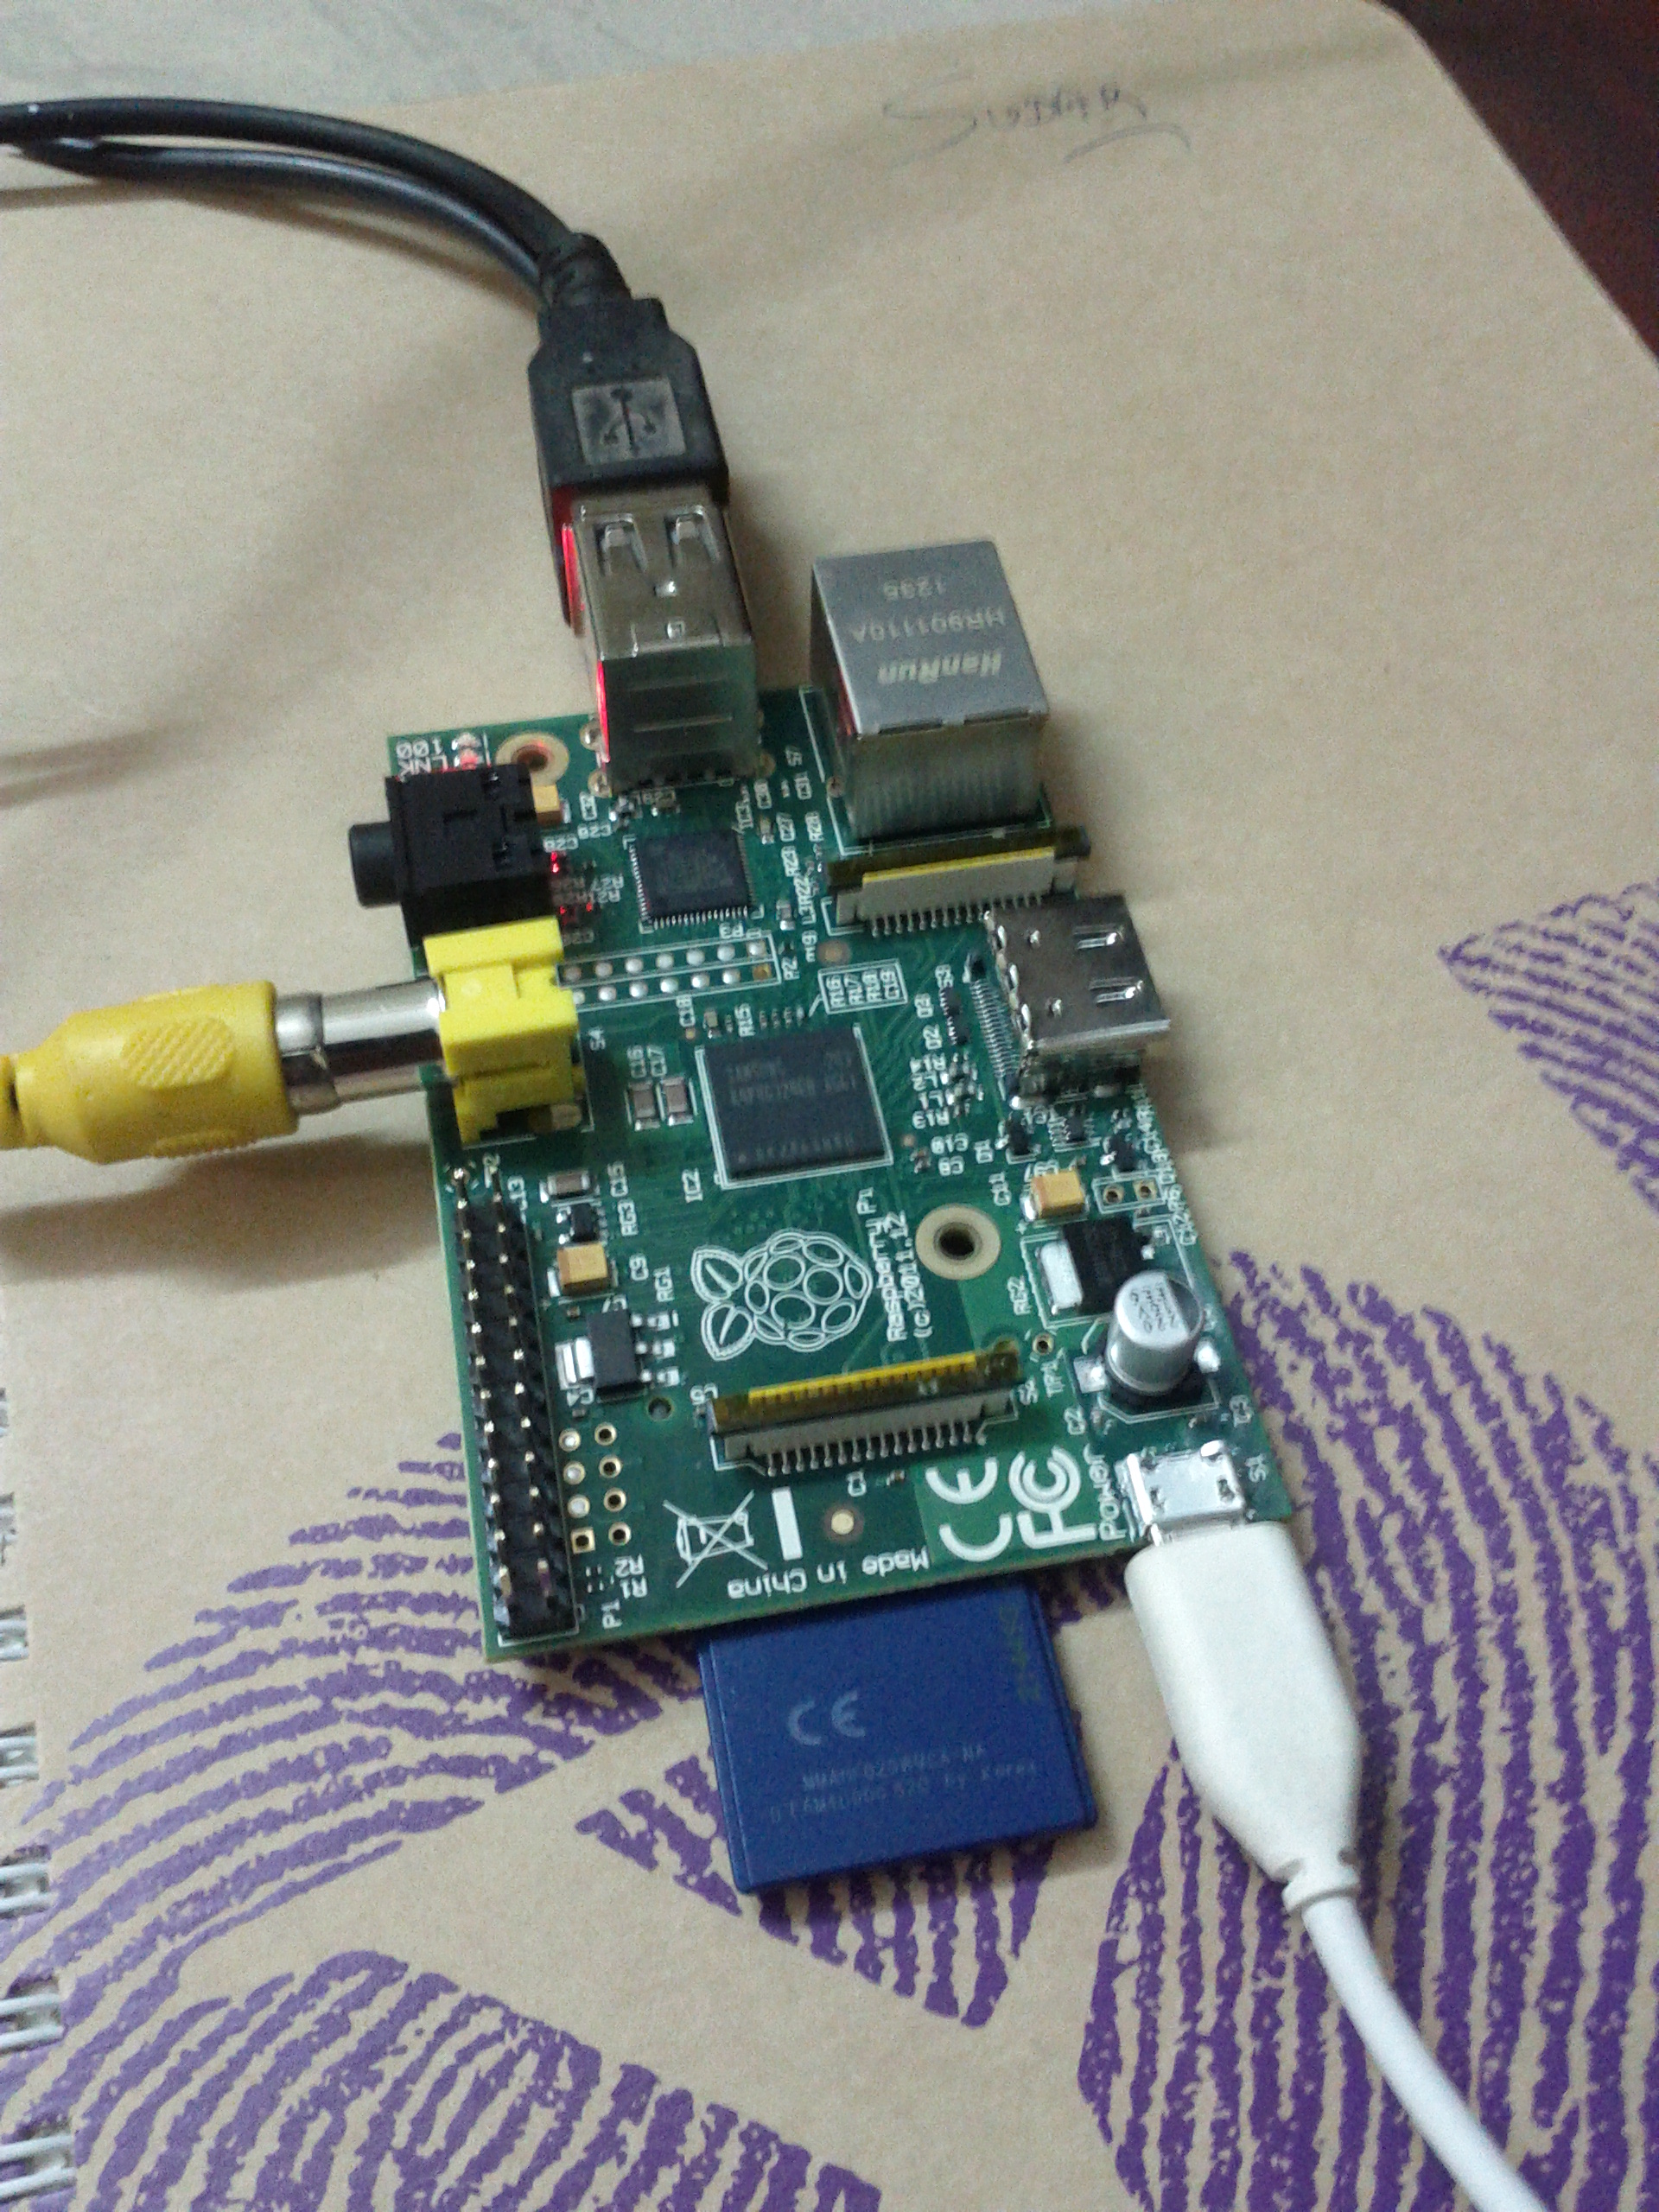
I didn’t have a proper power adapter for powering up Raspberry Pi. So I took an iPad adapter and a kindle cable to power Raspberry Pi.

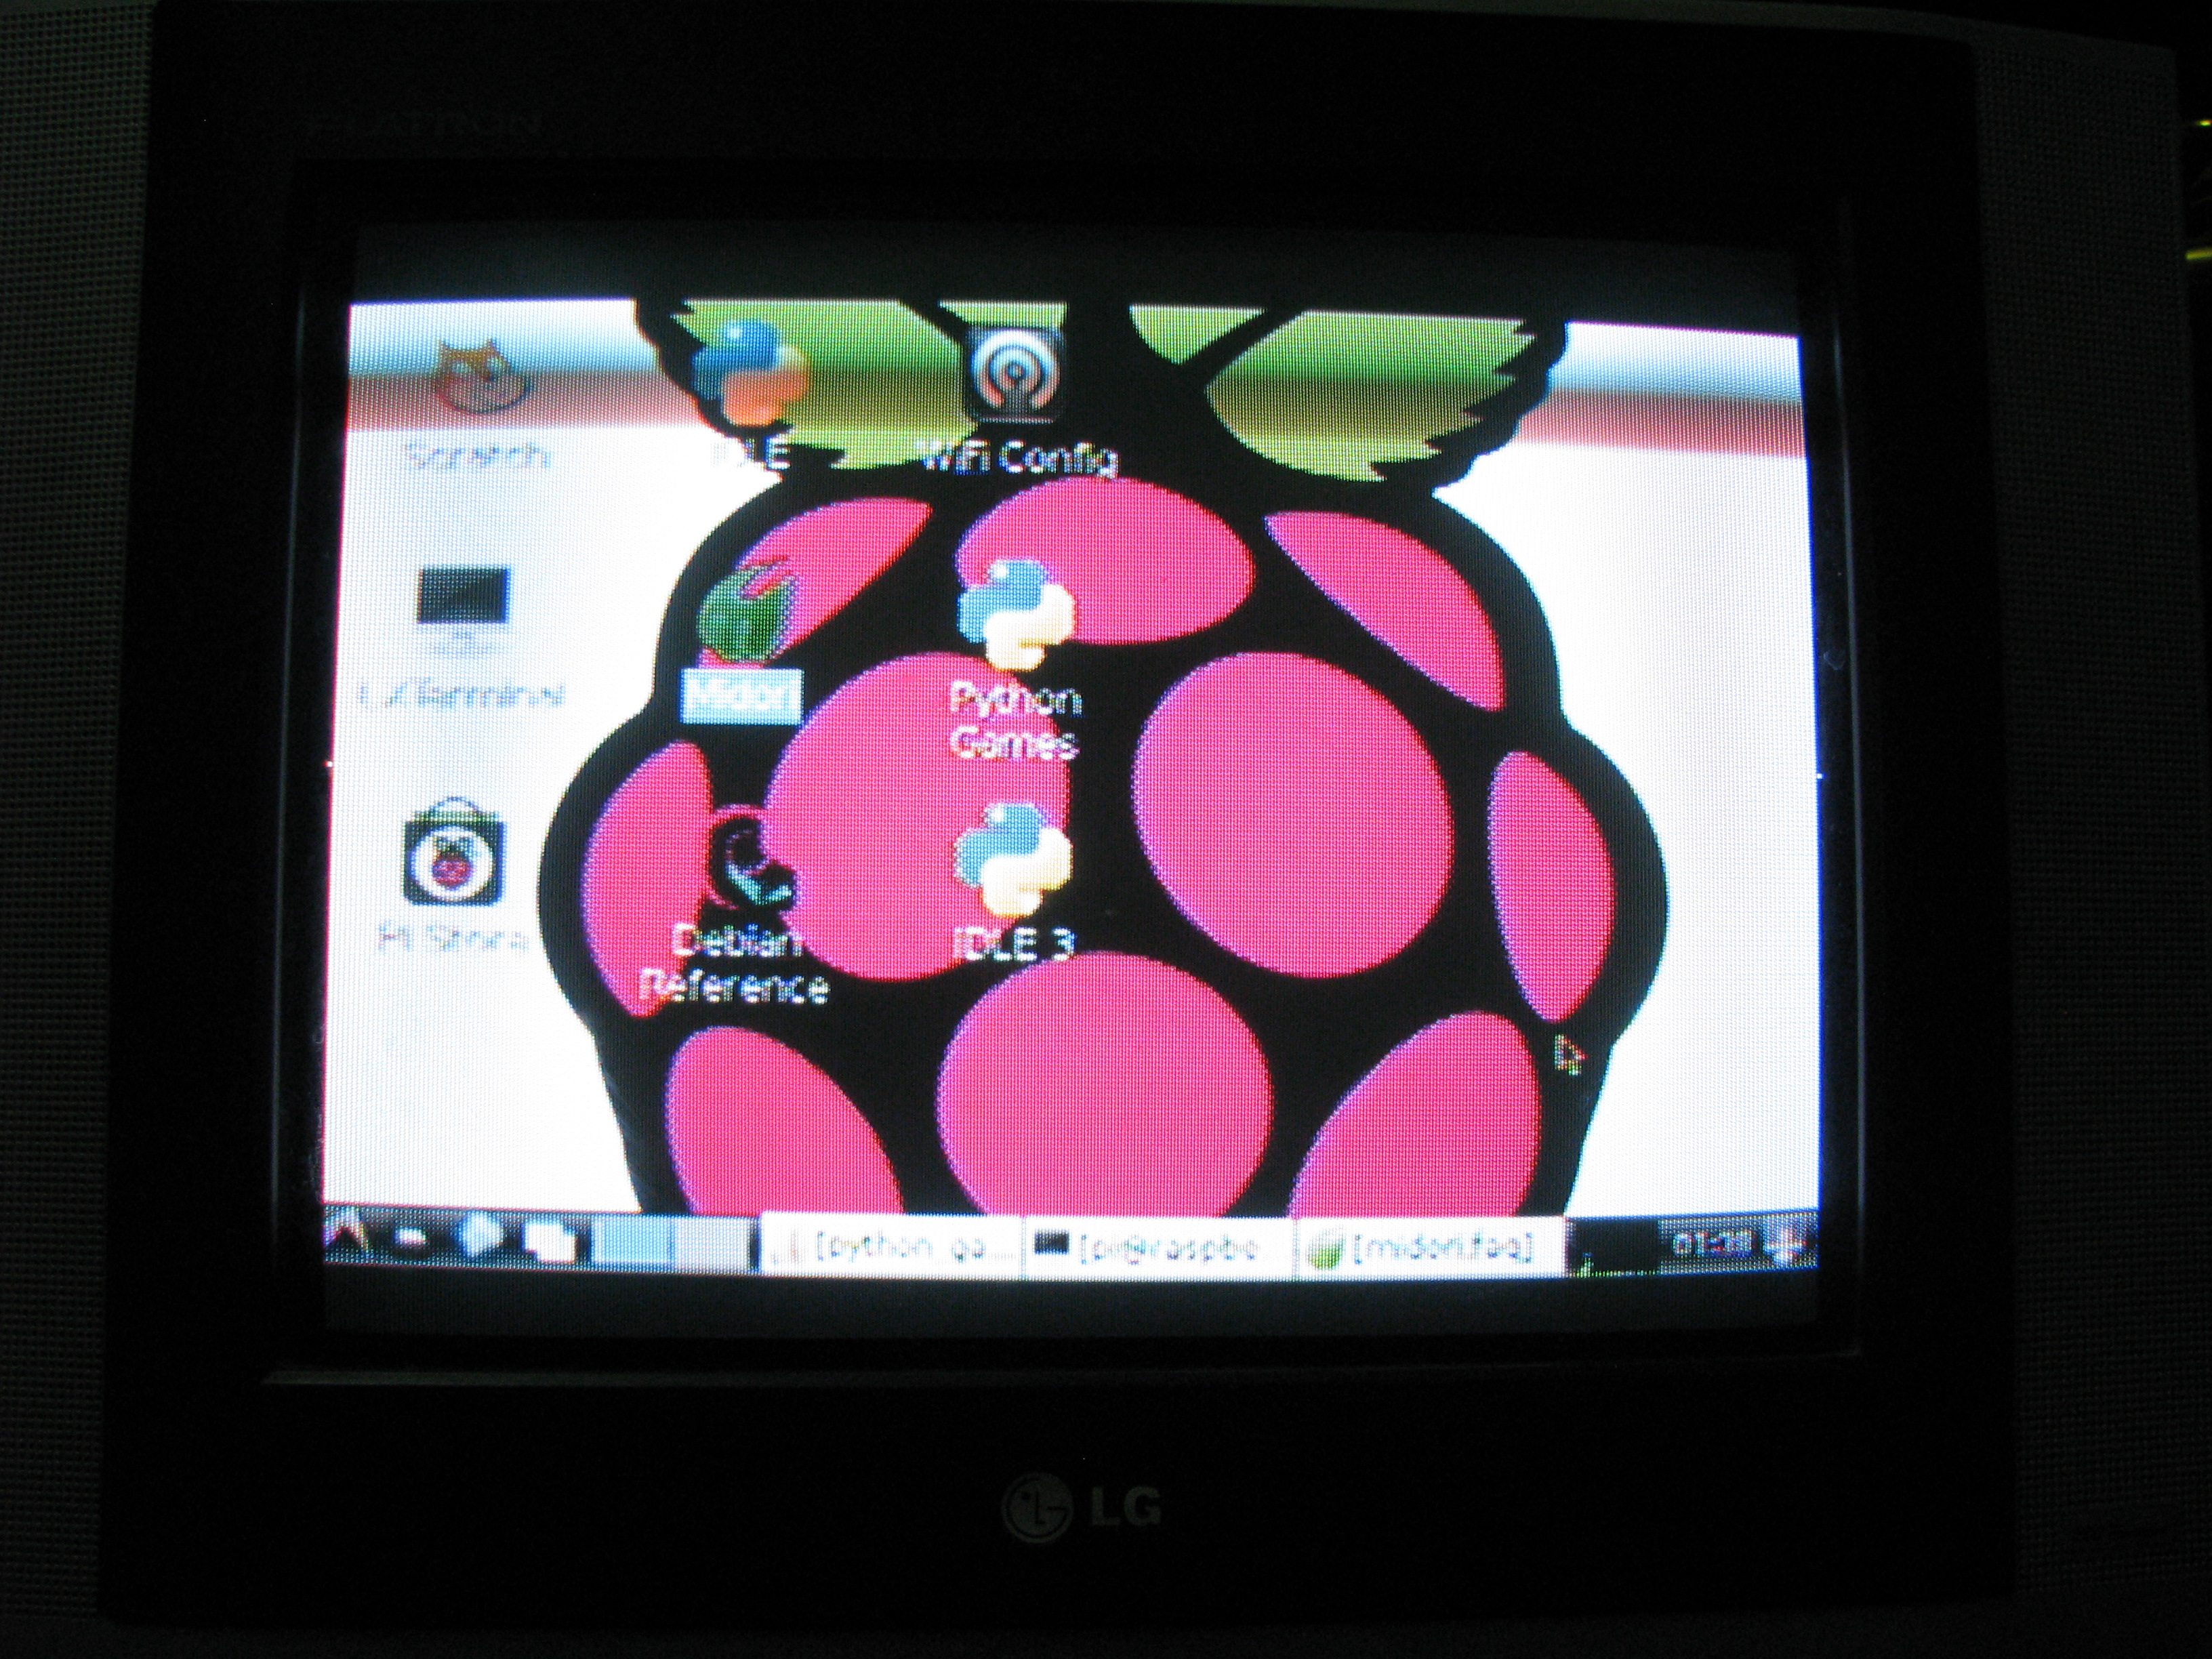
I then realized that I don’t have a monitor which will work with Raspberry Pi. My old monitor was just plain VGA and the slightly new one supported only DVI-B. Luckily Raspberry Pi has the composite video option and I was able to connect it to my TV. Even though the resolution wasn’t great, I still was able to boot the default OS image that I downloaded from Raspberry Pi’s website. Below are some pictures of it running in my TV.

raspberry pi running in my TV
I will soon write another article about the accessories that you have to buy in addition to Raspberry Pi, to get the most out of it.

What’s next?

I am really excited now and my mind is already bubbling up with lot of ideas. The first idea is to connect it to an Arduino and try to control my Arduino based Asimi bot. When you connect a Raspberry Pi to an Arduino, the possibilities are endless 🙂

Since I am having 4, I am planning to use one as a dedicated media center. I am thinking of loading XBMC on one of the Pi’s and permanently connect it to my TV.

Stay tuned for more updates and projects as I continue to play around with it 🙂

Arduino Robotics workshop – second batch

The dates for my second batch of Arduino Robotics workshop is confirmed now. It is going to be on Jan 26th and 27th.

It is going to be a 2 full day workshop, like last time and I will also be providing the components needed for the workshop. You can find the course content, fees structure and the registration process in the workshop page.

The aim of the workshop is that at the end of two days you should able to have a working Arduino based bot which can autonomously run on its own avoiding obstacles in the path.

Photos from my earlier workshop

Also checkout some of the photos from the previous workshop

arduino-robotics-workshop-5 arduino-robotics-workshop-3 arduino-robotics-workshop-2 arduino-robotics-workshop-1

[mailchimpsf_form]

Using Arduino as a bridge to connect serial devices with PC

I recently found an interesting use of the many Arduino boards that I have. You can use your Arduino board as a bridge to connect serial devices to the computer, without even writing a sketch. How cool is that? 😉

Before I tell you how you can do it, let me explain about virtual COM ports and how Arduino uses them.

Virtual COM ports

The ATmega328 microcontroller used in the Arduino board supports UART TTL (5V) serial communication. You can connect the microcontroller to the serial port in your computer (with appropriate logic level converters) and can interface with it.

But these days, most computers don’t have a serial port. So the Arduino team when they designed the board, placed another IC to channel this serial communication over USB. In pre-UNO boards this is handled by the FTDI FT232RL IC and in UNO it is handled by ATmega8U2 IC. In your computer, you will have to install corresponding drivers and the device will appear as the virtual COM port.

Holding the processor in RESET mode

The serial to USB(TTL) IC (either FTDI FT232RL or ATmega8U2) is connected to Arduino pins 0 and 1. If we hold the processor in RESET mode, then all its GPIO pins will me in tri-state, effectively removing it from the circuit and you can directly interface the serial to USB IC with your device.

To hold the processor in RESET mode, just connect the RESET pin (which is active-low) with the ground. This will hold the processor in RESET mode.

Interfacing the serial device

Now you can connect the serial device to the Arduino pins 0 and 1. You should however note that the Rx pin (pin 0) goes to the Rx of the device and Tx pin (pin 1) goes to the Tx of the device and not the other way around.

In your computer the device will appear as a Virtual COM port. You can connect to it using programs like screen or hyper terminal.

I didn’t had a serial device handy with me, so I used a another Arduino as a serial device to test this. I wrote a small sketch which was printing something in the Serial every few seconds and then when I opened the virtual COM port using screen, I was able to see its output.

This is a neat trick and might be useful if you have to interface some serial device like a GPS or a Bluetooth module with your computer.

Happy hacking 🙂